Testing custom kernels with QEMU: A (mostly) complete guide (July 2023)
Stop me if you’ve heard this one
Once again, you got the urge to hack on the kernel source. Maybe it’s just for fun, to play around with some kernel messages.
Or do another chapter from LKMPG, because you have convinced yourself that you will finish it this time.
In any case, you search around a bit to find the old source tree you had lying around from last time, and after some back and forth you realize it’s best if you delete it and check out a new copy.
That was a good call, if you don’t mind me saying so.
You
make menuconfig
make -j12
and get that sweet sweet bzImage.
Now what?
You’re not going to install this over your current kernel, that’s for sure. Who knows how that’s patched and what modules it needs. You don’t even remember what version you’re running.
A VirtualBox would work nicely, keep it safe and isolated. But you still would need to figure out how to bring
the bzImage into the guest install or compile it there. But that sounds like replicating your development
environment in there.
Surely there is a way to start up a minimal VM with the kernel you just built and see it run. This is the future, after all.
Well, dear reader, I’m here to tell you that yes, this is possible. And here are the instructions to do it.
What the end of the journey looks like
The intention is to get this running:
qemu-system-x86_64 \
-kernel /path/to/linux/build/tree/arch/<your arch>/boot/bzImage \
-hda /path/to/ubuntu-18.04-minimal-cloudimg-amd64.img \
-append "console=ttyS0 init=/sbin/init root=/dev/sda1" \
-cdrom cidata.iso \
-device e1000,netdev=net0 -netdev user,id=net0,hostfwd=tcp::5555-:22 \
-nographic \
-m 512
The result is a VM running the kernel image of the -kernel argument. It has full network and a bunch of
basic utilities, including an ssh server, so you can copy binaries and modules and stuff to and from the VM.
The rest of this post is about how to get this command running and what each option means. Once you get this working, it’s easy to adapt it to do what you need.
Let’s look at each piece in turn.
NOTE: This is all for x86_64. Adjust for your platform accordingly. FWIW, i run this on a Linux Mint
install, but the steps should be pretty similar in other distros.
ANOTHER NOTE: These “instructions” are basically notes that I kept for myself so I can redo these steps. This is just the starting point, there are tons of improvements to do, so don’t ask me why ubuntu minimal or why -nographics. Chances are I don’t know, I just know it worked.
qemu-system-x86_64
This should be relatively straightforward. You can either install it with the package manager of your distro, or you can build it from source. I did the latter by following the official instructions.
Assuming you are reading this because you want to run custom kernels, then you already have a functional build environment and the QEMU build should not be a problem.
One thing to keep in mind is that QEMU has some optional dependencies and if you don’t have the corresponding
-dev packages installed you may have some features missing. On my first build, I ended up without support for
user mode networking because I was missing the slirp library.
Long story short, here is the list of libraries I had to install:
libblkid-dev
libglib2.0-dev
libglib2.0-dev-bin
libmount-dev
libpcre16-3
libpcre2-dev
libpcre2-posix3
libpcre3-dev
libpcre32-3
libpcrecpp0v5
libselinux1-dev
libsepol-dev
uuid-dev
libpixman-1-dev
libslirp-dev
libslirp0
You may already have some of them or you may be missing others. Look at the output from ./configure and see
what you need to install.
If you are unsure, then just go for the binary install.
-kernel /path/to/linux/build/tree/arch/<your arch>/boot/bzImage
This is the kernel you want to run in the VM, it’s the reason why we’re doing all this. Building a kernel is
not in scope for this article, there are many good resources on this topic. The point is that you need to end up
with a bzImage that you can pass in. The kernel must be built with serial support so we can get a console in the VM.
My starting config was the one I am running my host system with, which is available under /boot. That seems to
include everything needed to get to a working environment. I just copied the /boot/config-5.15.0-75-generic
file to .config in the kernel source tree root and did a make menuconfig from that.
-hda /path/to/ubuntu-18.04-minimal-cloudimg-amd64.img
Having just a kernel running in the VM is kind of limiting. The thing will start, but it will panic because it
will try to find and execute an init process to finish up the system boot. Basically, we need all the userspace
utilities that make a system usable, with amenities like filesystems, network and so on.
A disk image does exactly this. In my example I use the Ubuntu 18.04 minimal cloud image, for no other reason than it was the first one I managed to get working. Choose whatever makes more sense to you, but I know the Ubuntu image works. I think I’ll change it soon for something smaller and less Ubuntu-ish.
You can build your own, using Busybox, box cutters and duct tape. Tutorials can be found, it seems too much
effort for me at this point.
-append "console=ttyS0 init=/sbin/init root=/dev/sda1"
The command line to pass to the kernel.
console is necessary so the kernel has a place to hook up stdin and stdout. Without it, the only way to
interact with the VM is through ssh, and that’s no good if your hacked kernel crashes before it calls init.
init is the program that will bring the system services up. /sbin/init works for the Ubuntu minimal cloud
image I use, other images may need other options.
root is the disk partition to mount and search for init. Since we hook up our disk image as disk a
(the -hda parameter), then /dev/sda1 is the correct partition to use here.
-cdrom cidata.iso
That’s the weird one and I’m not sure I get exactly what it’s about. My understanding is that the Ubuntu mininal image assumes that it will start in a cloud environment that will inject some initial configuration. This includes things like the default username and password. Since we’re not running in a cloud environment, we need a way to pass that initial config, and the method I found was to set up an ISO image with the correct black magic. I won’t pretend I know what is going on here, but I do know it worked.
Here’s what I did.
First, I created a file user-data with the following contents:
#cloud-config
system_info:
  default_user:
    name: ubuntu
    home: /home/ubuntu

password: ubuntu
chpasswd: { expire: False }
hostname: ubuntu-20-cloud-image

# configure sshd to allow users logging in using password
# rather than just keys
ssh_pwauth: True
And then I run:
cloud-localds cidata.iso user-dataIn Linux Mint, cloud-localds is part of the cloud-image-utils.
The result of the cloud-localds command is an ISO file which we pass to the -cdrom argument.
This does two things.
- It sets the default user to
ubuntuwith a password ofubuntuand home directory of/home/ubuntu. Change these as you require. - It sets up SSH to allow password authentication, so you can connect as user
ubuntuwith the same password. This is a convenience step, if security is important then PKI is the way to go.
NOTE: You need to pass this .iso only on first boot. Once that’s done, the image will be configured and
you don’t need it anymore.
UPDATE: User Marcos Dione on Mastodon was kind enough to let me know that this mechanism is part of Cloud Init
-device
e1000 is the device type. This seems to be the most used one for network, works fine.
,netdev=net0 ID for this device, so we can connect it with the config that follows.
-netdev user Configuration for the device. It’s a user network device, so make sure slirp is configured.
,id=net0 The ID of the device we’re configuring.
,hostfwd=tcp::5555-:22 The guest’s port 22 is forwarded from the host’s port 5555. This means you can
ssh ubuntu@localhost -p 5555 and you will ssh to the VM.
-nographic
The minimal image I’m using doesn’t have a graphical interface. This option tells QEMU to not setup for a GUI to pop up and instead just do a console. Without this option, you only get SSH access.
-m
The memory to allocate to the VM. Season to taste, you may also want to allocate more CPUs or other resources. All possible and not complex, but outside of the scope of this post.
If you do all this and run the command you should get a bunch of output that looks like this:
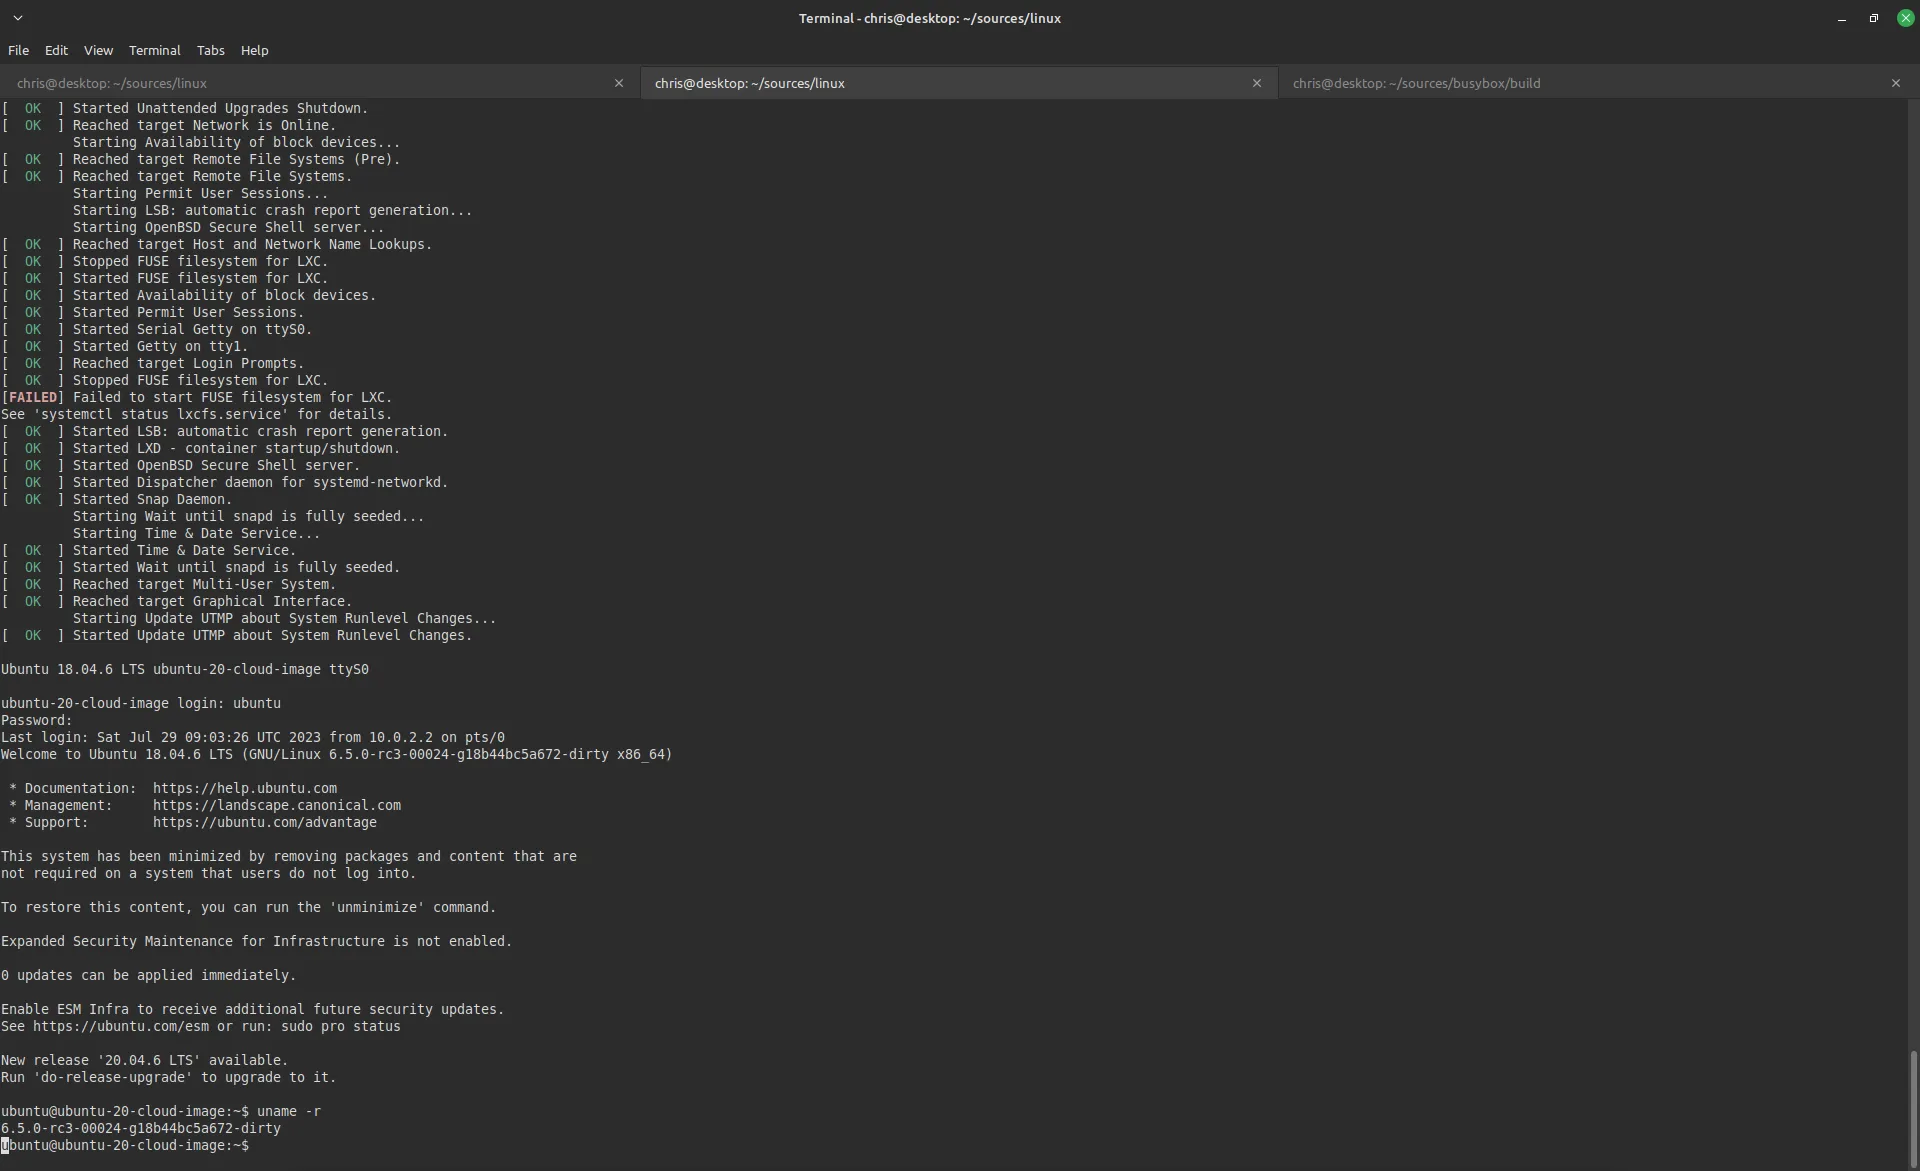
Congrats, you are running a custom built kernel in a VM. Your host machine is safe.
NOTE: You exit with Ctrl-a x.
Further notes and improvements
Disk size
It didn’t take long to run out of disk space - all it took was trying to install a Rust build toolchain. Here’s how I fixed that.
With the VM not running resize the disk image:
qemu-img resize /path/to/ubuntu-18.04-minimal-cloudimg-amd64.img +40GHere i give it 40G more, but you do you.
When the VM is started again, here’s what gdisk reports for me:
ubuntu@ubuntu-20-cloud-image:~$ sudo gdisk -l /dev/sda
GPT fdisk (gdisk) version 1.0.3

Partition table scan:
  MBR: protective
  BSD: not present
  APM: not present
  GPT: present

Found valid GPT with protective MBR; using GPT.
Disk /dev/sda: 88498176 sectors, 42.2 GiB
Model: QEMU HARDDISK
Sector size (logical/physical): 512/512 bytes
Disk identifier (GUID): 6263800E-7AA2-42CE-86D8-C6001A94E550
Partition table holds up to 128 entries
Main partition table begins at sector 2 and ends at sector 33
First usable sector is 34, last usable sector is 88498142
Partitions will be aligned on 2048-sector boundaries
Total free space is 2014 sectors (1007.0 KiB)

Number  Start (sector)    End (sector)  Size       Code  Name
   1          227328        88498142   42.1 GiB    8300
  14            2048           10239   4.0 MiB     EF02
  15           10240          227327   106.0 MiB   EF00
So the root partition is resized and all the space is available.
There is some weirdness here though. The first time i did this, gdisk would correctly count the sectors
but /dev/sda1 hadn’t been resized properly. I don’t know what was different, but it happened anyway.
To fix it, i had to delete /dev/sda1 and recreate it with the appropriate end sector.
Then, i had to sudo resize2fs /dev/sda1. All of that on the running system, obviously. But it worked.
NOTE: This didn’t work with fdisk, using gdisk is mandatory.
Adding memory and CPU
Trying to run cargo or do any sort of compilation or crate install is painfully slow with just one CPU and
512MB of RAM. It made a huge difference when i added
-cpu host -smp 8 -m 8192 -enable-kvmThis gives the VM 8 CPUs, mapped to the host CPUs and 8GB of RAM. -enable-kvm is necessary to have CPUs
mapped to host, because it uses the kernel hypervisor instead of emulating the CPU in userspace.
Of course you can adjust the values to your liking. For me, these made a huge difference, i can actually use the VM to build stuff in it.